Saturday, April 30, 2011

Tutorial - Faux silk

This is a tutorial I picked up from the Creative Inspirations DT blog when I was doing a product review for the paints for the March issue of SNR magazine. I thought I would add a few samples using the paints as part of my PR. I'll share the tutorial I put together for the faux silk technique
******

What's not to love about the feel and look of silk. It's beautiful and luxurious but it would not be very practical to cut it up into bits and pieces to add to an art project. Here's a technique that offers the same appearance as silk without having to sacrifice a beautiful piece of fabric.


Supplies
Tissue paper
Creative Inspirations paints
Cardstock


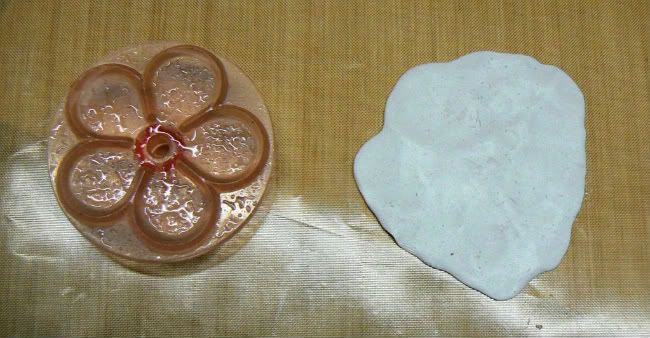
Step One: Gather your supplies together. Cut a piece of tissue paper to the size you require leaving a little excess on all four sides. Lay the tissue paper on your non-stick craft mat and paint the entire surface area with your choice of creative inspiration paints. Leave to dry for a few minutes or dry with your heating tool.


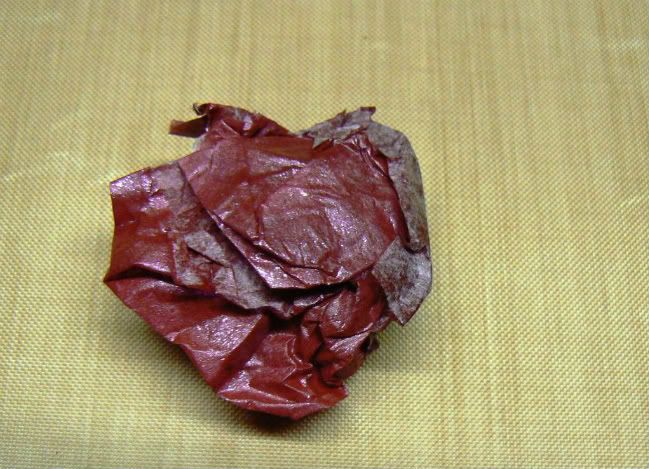
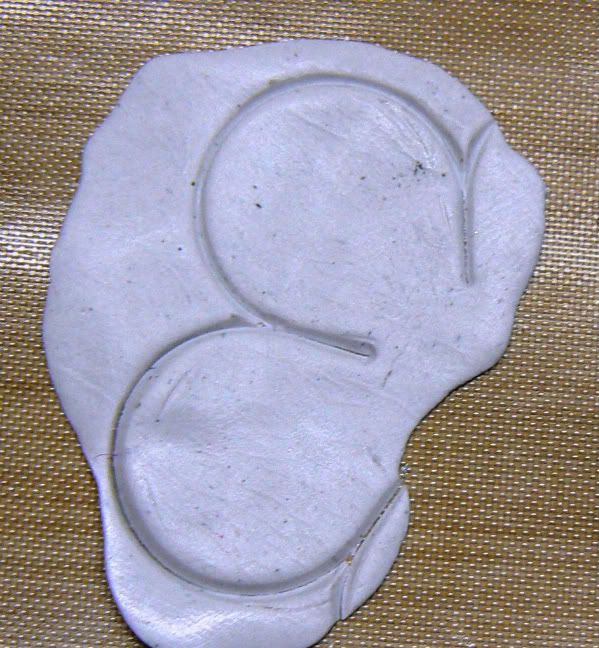
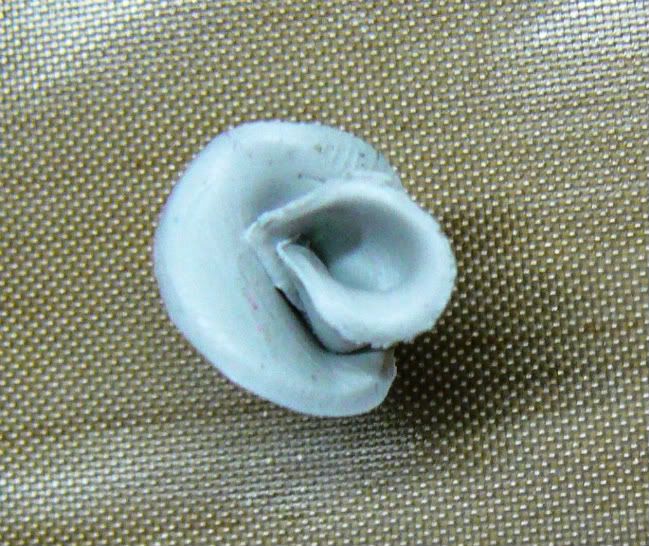
Step Two: Once your painted tissue paper is completely dry then crumple the entire piece into a small ball creating creases to resemble the appearance of silk.


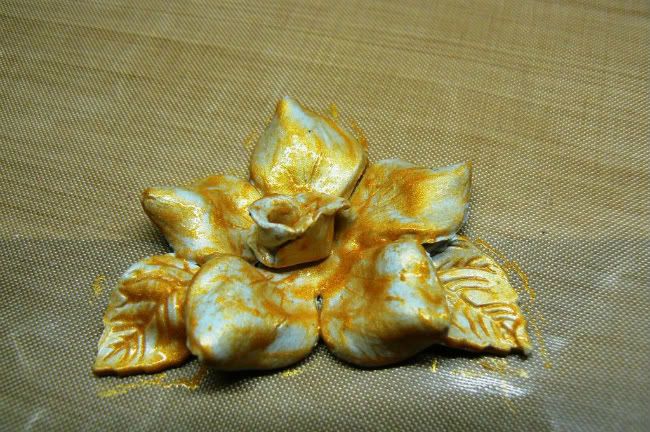
Step Three: Un-crumple the tissue paper and smooth it out. Place the tissue paper face down onto your craft mat. Add adhesive to your cardstock and place it adhesive side down onto the tissue paper gluing it together. Add a little more adhesive to the edges of the backside of your cardstock and fold the excess pieces of tissue paper over. Neaten the edges and you have a piece of faux silk to add to your project.


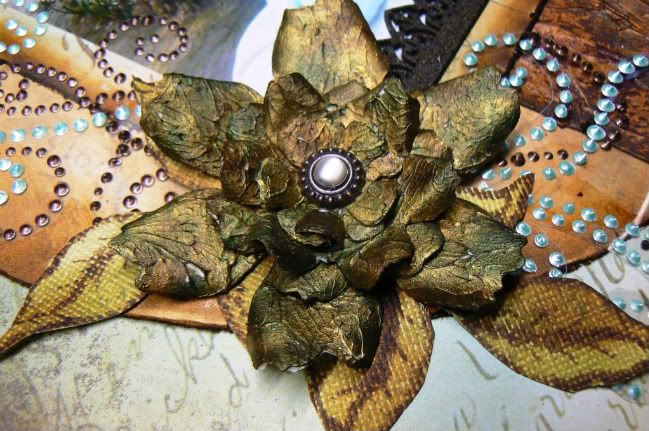
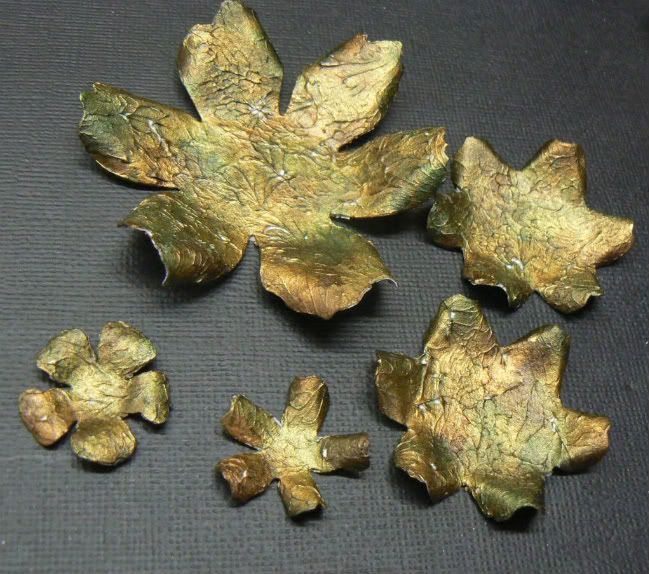
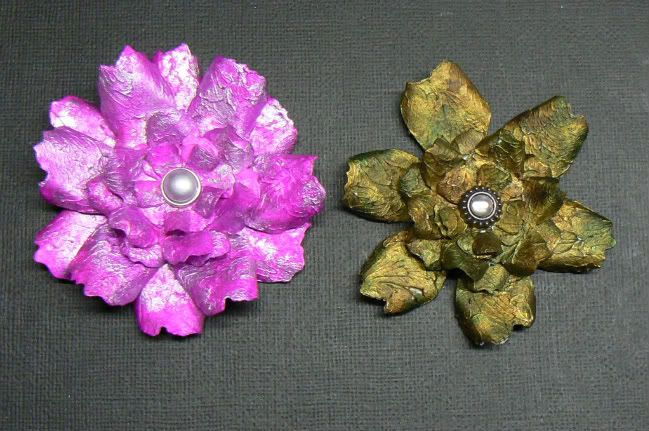
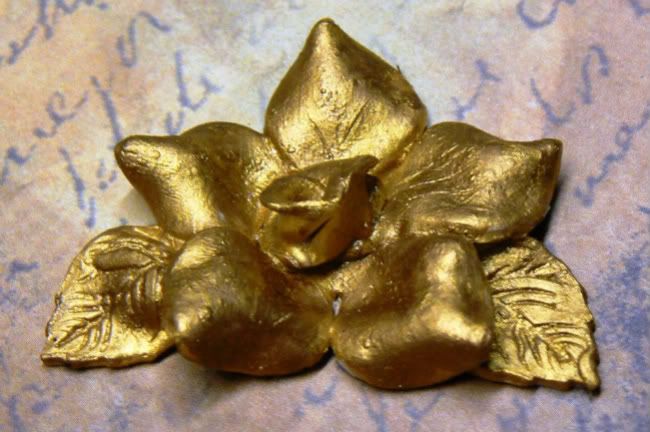
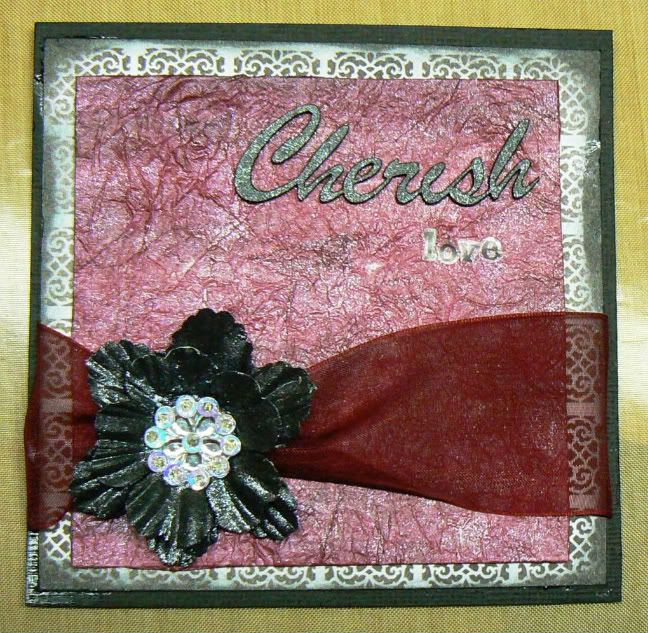
This is a great background technique which you can use as a base to stamp onto or cut out of to create your own embellishments.

Wednesday, April 27, 2011

Tutorial - Textured flower

This tutorial was featured in the March issue of SNR magazine.

Incorporating mixed mediums into your scrapbooking layouts may be a little daunting to most traditional scrapbook artists, but it need not be. Adding a little texture to a paper flower using a paste is an easy way to add a unique touch to your layout. Let me show you how.


Supplies
Flower die cut or punches in various sizes
Cardstock
Molding Paste
Alcohol Ink in several colours of your choice
Blending tool to apply your alcohol ink
Clean felt pads
Brad or your choice of flower center


Step One: Gather all your supplies together. Using you die cut or punches cut out one large, two medium and two small flowers. I used the Sizzix tattered florals die for my flower.


Step Two: Apply a relatively thin layer of molding paste onto your paper flowers. Use your finger to create a textured surface by lightly tapping the paste which will then create peaks. Because molding paste is a slow drying product, and I didn't want to sacrifice my non-stick craft mat while it was drying, I placed my flowers onto a piece on cling wrap which I could then put to one side while it dried.


Step Three: Leave to dry overnight so that it dries completely before you start adding your alcohol ink. The dried paste will have a matt finish.


Step Four: Using a combination of alcohol inks on your felt pad with a blending tool, colour your flowers. I used a combination of Pesto, Espresso and Gold mixative for my flowers.


Step Five: Using a thin paintbrush handle curl the edges of your petals. Placing one finger at the base of each petal gentle pinch and lift the petals together creating a "v". You can curl the petals of one small flower back and pinch the petals of the other.


Step Six: Layer your flower starting with your large flower at the bottom, then add your two medium flowers alternating the petals. Then add the small flower with the petals curled backwards and lastly add the small flower with the pinched petals. To finish off add a brad which you can pierce through all the layers to hold your flower together. If you don't use a brad as your flower center then glue each layer to the next as you go.

These flowers can be made using any flower petal shapes you like and can be perfectly co-ordinated to your project with your selection of alcohol inks. If you want a more fuller looking flower then you can add a second large flower as I have done with my pink example below.

Saturday, April 16, 2011

~My Love ~Jan Swirlydoos kit

This is another LO I did for the March issue of SNR. This was for the cardboard base call where your background had to be a cardboard. As much as I love working on cardboard, I sometimes find it difficult finishing the edges off properly. Mine always look to tatty. This is when I decided to cut the centre out of a pp that was part of the Jan swirlydoos kit and use it to frame my cardboard base.


The flowers are from iamroses.com. This company stocks the most beautiful paper flowers and very competative prices and only charge $0.50 per item no matter where you are in the world. Shipping is also very quick so  place regular orders. The leaves are stamps from Heartfelt creations which I coloured with some distress inks.
I embossed this gorgeous wrought iron fence piece from Dusty Attic with some walnut stain distress embossing powder. I used some of the blue perfect pearls that came with the kit to accent the tips of the gates. I must just tell you that Rangers new formula for their perfect pearls make much better pearl drops than their original formula. I misted these mini rose buds with some homemade mist I made with spiced marmilade reinker and perfect pearls mixed with water. I then wrapped the rose buds around the wrought iron fence.

This is another Dusty Attic piece which I treated the same way as the wrought iron fence. Dusty Attic are by far my favourite chipboard manufacturer. I'm yet to see a piece I'm not completely inlove with.

I used some Creative brads as a pop of colour against the orange cardstock ring. I absolutely love the vinatge range of brads from Creative Charms.
I'm not sure if these chippies from Scarpbook King are supposed to be angels or cupids so I decided to make mine a cupid.....if I say it's a cupid, then it's a cupid!!! LOL!
I painted the body with some acrylic paint and then outlined him with some stickles.

Thanks so much for taking a moment to look.

Arch - Window to my soul


The March theme for Arches at SNR was Windows and Doorways so I decided to use this really sweet pic of my youngest two taken while they were playing on the lawn.
I first embossed some Ten Seconds studio metal sheet with the Sizzix Damask embossing folder. I sanded down all the raised images. I then cut a square window out of the metal and used this to frame the photograph. I then covered the window with 3-4 layers of clear UTEE to complete my "window".

I used polymer clay brushed with antique gold and green patina Perfect Pearls to create the vine framing the picture. I baked it on my craft sheet for 30 minutes on 230 degree fahreheit. I added the faux metal flower I also made from Polymer clay. The tutorial for this will be posted later this month.

To finish off I framed the entire arch with some string pearls I painted gold and added my lettering which I printed, cut out and inked the edges. I added a lovely piece of damask ribbon I
got as part of a gift from my dear friend Andrea (Zuk).

Personally, I'm really pleased with the result. Tags and arches are still very new to me but I'm really starting to enjoy making them.

Thursday, April 14, 2011

~Gorgeous~Jan Swirlydoos kit


This LO was for the monthly Scrap your Stash call over at SNR. Each month an item is chosen for readers to use out of their stash. March's item was rub-ons. I had originally planned to try and do something unique and interesting with them but then when I looked through my meager stash I realised I didn't have any that would work for what I had in mind so I just went with a standard rub-on title.......boring, I know!!


I also used the Jan Swirlydoos kit for this LO. The yellows and green of the pp's were perfect for this picture I had of my DD. She was dressed as a bumble bee for a party she was going to. I picked up the red from the berries of the plant she is standing next to to add the lovely red petaloo blooms that came with the kit. The gold and green Prima blooms were from my stash. I was so glad I finally had a LO to use them on.

As a finishing touch, I fussy cut a bird from one of the pp's and outlined it with some crystal stickles. Every LO needs a little bling after all...LOL.
I must just say that Krissy really challenged me with this kit because these colours are soooo out of my comfort zone. But it was nice to work with pp's that I would never have conidered buying if they weren't in the kit. It's always good for ones creative spirit to try something out of the norm once in a while.


Tutorial - Faux metal embellishment

Metal embellishments always add something special to a project. They're timeless and classic. They work well for vintage themed projects but also add an edge to a grungy distressed layout. It's a re-accuring trend year after year and all those must-have pieces can be heavy on the pocket. Here's a technique using some polymer clay and metallic paint to create your own unique faux metal embellishments at a fraction of the cost.


Supplies
Polymer clay
Liquitex liquid ink metallic paints
flower die cut
Leaf die cut
Paint brush

Note: I purchased the flower die cut from my local baking supply store. You will find a wide variety of floral die cutters which are usually used for making cake decorations perfectly suitable to use with polymer clay.

Step One:Gather your supplies together. Cut a small piece of clay off and work it between your palms until the clay is soft enough to manipulate. Roll it out flat onto your non-stick craft mat. Lightly mist your die cut with some water so it doesn't stick to the clay.


Step Two: Cut out your flower using the floral die cutter.


Step Three: Remove all the excess pieces of clay.


Step Four: Pinch the tips of each petal to re-shape the petals as shown above.


Step Five: Using the excess pieces of clay, re-work the clay, roll it out and cut out another two petals using you floral die cutter.


Step Six: Seperate the two petals. Fold the first petal to create a bud then wrap the second petal around the first as shown above.


Step Seven: Cut the excess base of the bud off and add the bud to the center of the flower.


Step Eight: Using your leaf die cutter or mold make two leaves. I also purchased this plunger style leaf cutter from my local baking supply store. You first cut the leaf out of the clay and then push the plunger down to vein the leaf.


Step Nine: Add the leaves to your flower. Manipulate the leaves by bending and pinching the clay to make them appear more life-like.


Step Ten: Add a first coat of metallic paint. The clay will resist the paint so you will need to let each layer of paint dry inbetween coats.


Step Eleven: Add a second and darker coat of paint once the first layer has dried completely. I used gold for my first layer and bronze for the second layer.


Step Twelve: For your third coat, add a really thick layer that covers the entire flower evenly. Place into your pre-heated oven at 230 degree fahrenheit for 30 minutes to bake. Remove and allow to cool.


You now have your very own unique metal embellishment ready to be added to your next craft project or scrapbook layout.

Wednesday, April 13, 2011

~Proud Brother

~
This layout was done for the "All things Faux" March call at SNR. I absolutely love this picture of my oldest son holding his baby brother when he was just a few weeks old. He really does look like a very proud brother.

I used the textured flower tutorial featured in the March issue of SNR. I will be posting a copy of the tutorial later this month. I absolutely LOVE these flowers and can't wait to make a whole lot more of them. The leaves are stamps by Heartfelt creations which have been inked with Ranger distress inks.

 
Now this was my favourite part of making this LO. I used my very best scrapping buddie, Lisa Valentines's
Faux Leather Background tutorial. Don't you just love the look of this and it's such a simple technique. Lisa has incredible talent and a knack for making the most gorgeous accents out of nothing!!!

I made my own flourishes using some mint perfect pearls and Espresso Dimensional pearls on some transparency. I have a ton of pearl flourishes in my stash and yet I still favour making my own ones....silly hey!

Last but certainly not least, I used some of my favourite chipboard pieces from Dusty Attic. I first painted them with some metallic paints and then embossed them with some vintage photo distress embossing powder and finished them off by inking them with some walnut stain distress ink.