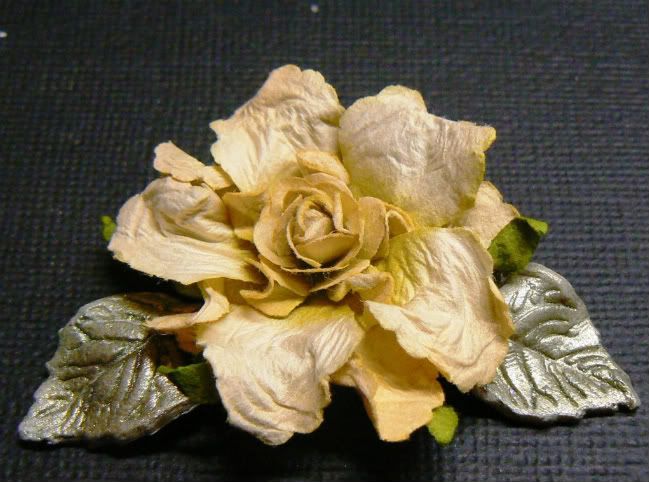
For those of us who enjoy making our own embellishments, we spend a lot of time and effort attempting to make our leaves look as real and authentic as possible. I have now discovered the perfect solution to this dilemma. Polymer clay is the perfect material to use to manipulate and create very life-like embellishments. Just have a look at how easy it is to make these gorgeous leaves.

Supplies:
Polymer Clay
Leaf die cut
Leaf veiner
Perfect Pearls
Dusting brush

Step One: Gather all your supplies together. Break off a piece of polymer clay and work it between your palms until its soft enough to manipulate. Roll a thin layer out onto your non-stick craft mat.

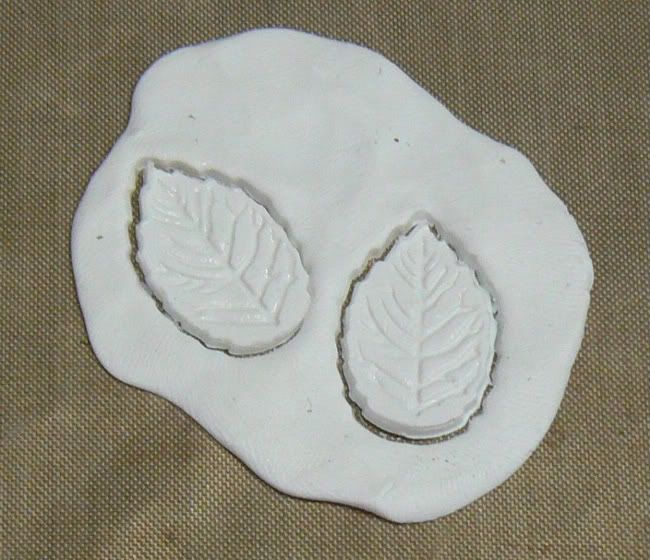
Step Two: Using a leaf die cutter, cut out as many leaves in the size and shapes you require for your project. Vein your leaves.
Note: I purchased my leaf cutter from my local baking supply store. This particular cutter also has a plunger which you use to vein your leaf. They are usually available in sets of 3 different sizes.

Step Three: Dust the clay leaves with some Ranger Perfect Pearls. I used some Green Patina on these.

Step Four: Pinch and bend your leaves to create a more life-like appearance. Place your clay leaves into a pre-heated oven at 230 degree Fahrenheit for 30 minutes. Once your leaves have cooled they are ready to be added to your project.
These will add a lovely classic touch to your scrapbooking and card making projects.
Thanks for sharing! These are awesome! A great addition to all those flower covered pages!
ReplyDeleteOMG, I want them, are you selling these?
ReplyDeleteWhat a great idea and tutorial. I cant wait to try it. Thanks for sharing!
ReplyDeletewonderful tutorial! thanks for sharing this with us! can't wait to try it!
ReplyDelete