******
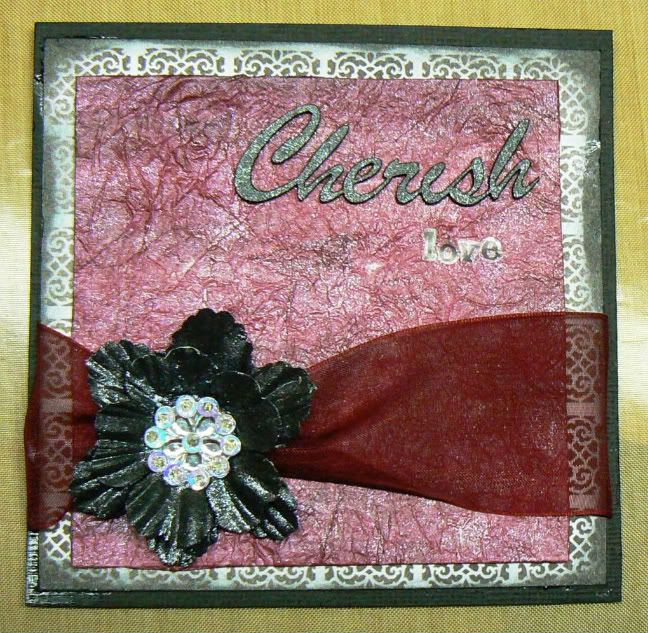
What's not to love about the feel and look of silk. It's beautiful and luxurious but it would not be very practical to cut it up into bits and pieces to add to an art project. Here's a technique that offers the same appearance as silk without having to sacrifice a beautiful piece of fabric.

Supplies
Tissue paper
Creative Inspirations paints
Cardstock

Step One: Gather your supplies together. Cut a piece of tissue paper to the size you require leaving a little excess on all four sides. Lay the tissue paper on your non-stick craft mat and paint the entire surface area with your choice of creative inspiration paints. Leave to dry for a few minutes or dry with your heating tool.

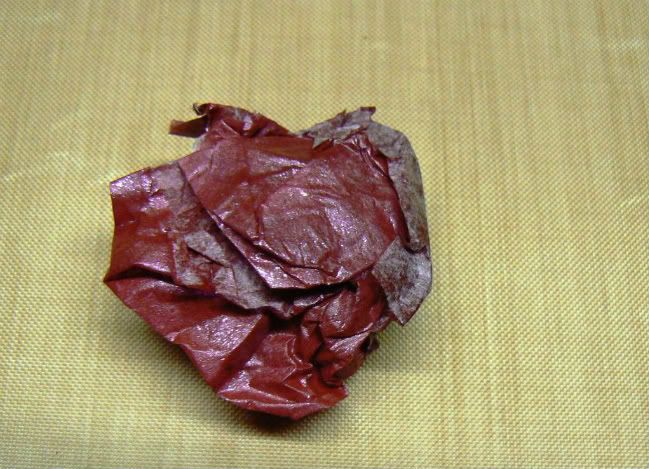
Step Two: Once your painted tissue paper is completely dry then crumple the entire piece into a small ball creating creases to resemble the appearance of silk.

Step Three: Un-crumple the tissue paper and smooth it out. Place the tissue paper face down onto your craft mat. Add adhesive to your cardstock and place it adhesive side down onto the tissue paper gluing it together. Add a little more adhesive to the edges of the backside of your cardstock and fold the excess pieces of tissue paper over. Neaten the edges and you have a piece of faux silk to add to your project.
This is a great background technique which you can use as a base to stamp onto or cut out of to create your own embellishments.
No comments:
Post a Comment