Supplies
Polymer clay
Liquitex liquid ink metallic paints
flower die cut
Leaf die cut
Paint brush
Note: I purchased the flower die cut from my local baking supply store. You will find a wide variety of floral die cutters which are usually used for making cake decorations perfectly suitable to use with polymer clay.
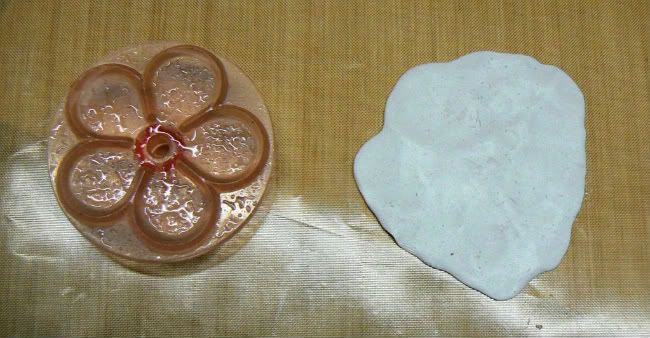

Step Two: Cut out your flower using the floral die cutter.

Step Three: Remove all the excess pieces of clay.

Step Four: Pinch the tips of each petal to re-shape the petals as shown above.
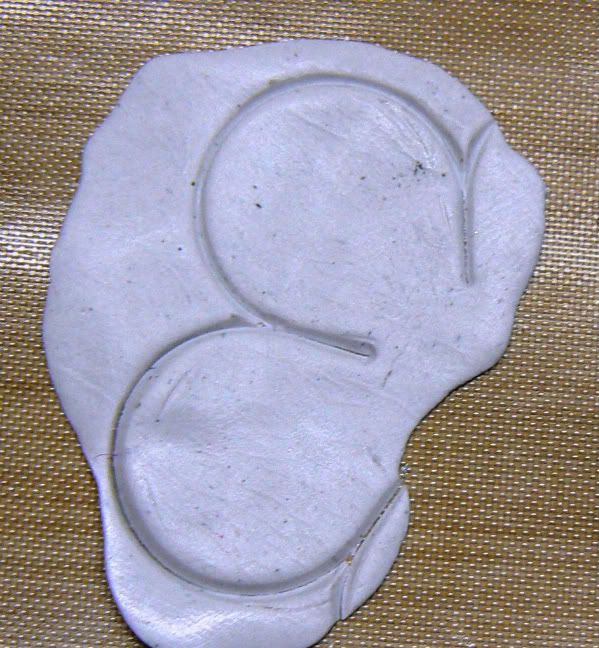
Step Five: Using the excess pieces of clay, re-work the clay, roll it out and cut out another two petals using you floral die cutter.
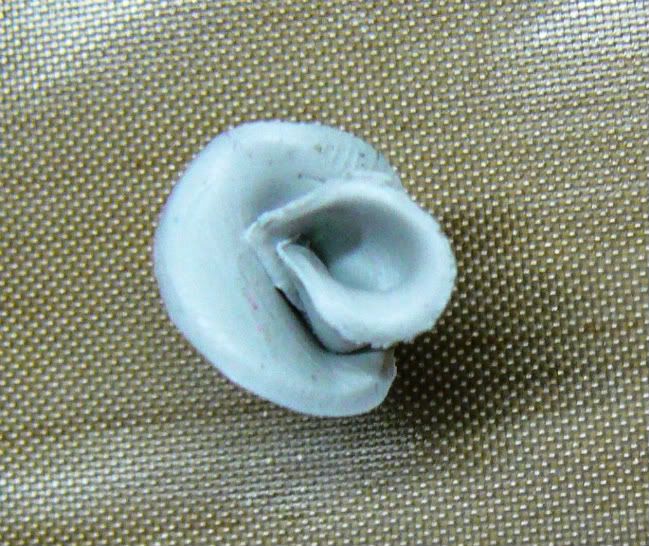
Step Six: Seperate the two petals. Fold the first petal to create a bud then wrap the second petal around the first as shown above.

Step Seven: Cut the excess base of the bud off and add the bud to the center of the flower.

Step Eight: Using your leaf die cutter or mold make two leaves. I also purchased this plunger style leaf cutter from my local baking supply store. You first cut the leaf out of the clay and then push the plunger down to vein the leaf.

Step Nine: Add the leaves to your flower. Manipulate the leaves by bending and pinching the clay to make them appear more life-like.
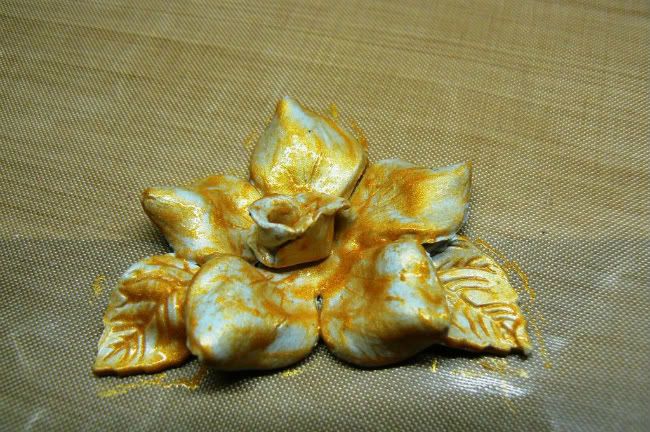
Step Ten: Add a first coat of metallic paint. The clay will resist the paint so you will need to let each layer of paint dry inbetween coats.

Step Eleven: Add a second and darker coat of paint once the first layer has dried completely. I used gold for my first layer and bronze for the second layer.

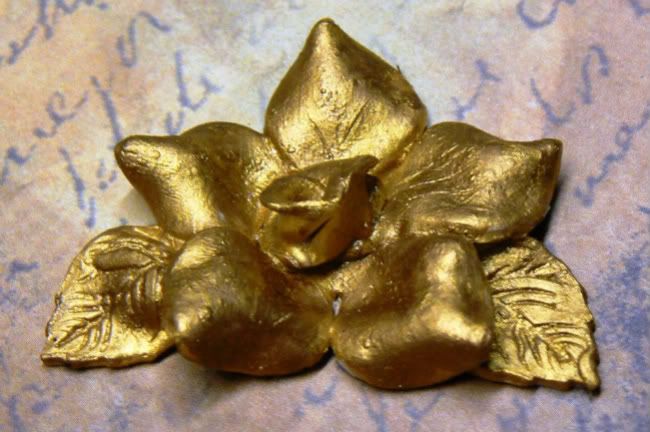
Step Twelve: For your third coat, add a really thick layer that covers the entire flower evenly. Place into your pre-heated oven at 230 degree fahrenheit for 30 minutes to bake. Remove and allow to cool.
You now have your very own unique metal embellishment ready to be added to your next craft project or scrapbook layout.
I think I would like it better if you finished it with an antique wash of a dark brawn or black paint.
ReplyDelete