If you enjoy making your own flower embellishments but are perhaps looking for something a little more interesting than your standard paper flower then this flower technique can offer you that and a whole lot more. Using metal will also add some interesting texture to your project.

Supplies
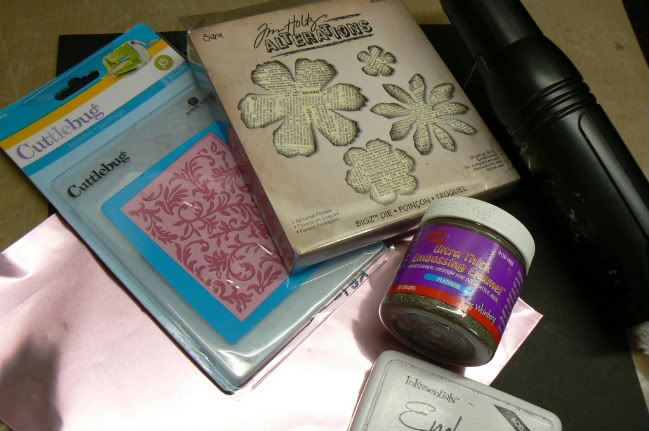
Sheet metal
Sizzix tattered florals die cut
Embossing folder of your choice
Embossing/Die-cutting machine
Sanding block
UTEE powder
Embossing ink
Heating tool

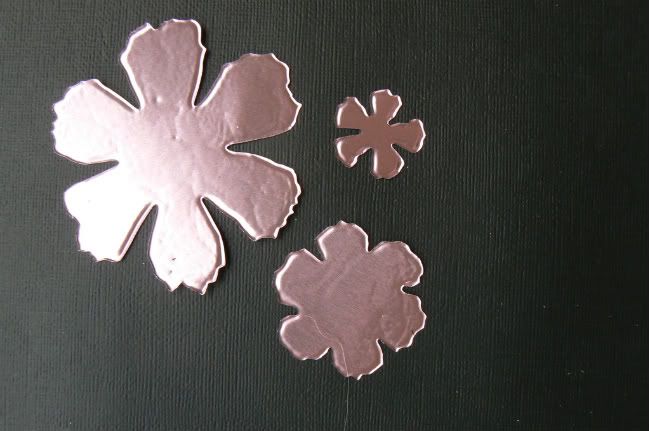
Step One: Using your Cuttlebug or other die-cutting machine cut 1 large, 1 medium and 1 small flower from the Sizzix tattered florals die cut set.

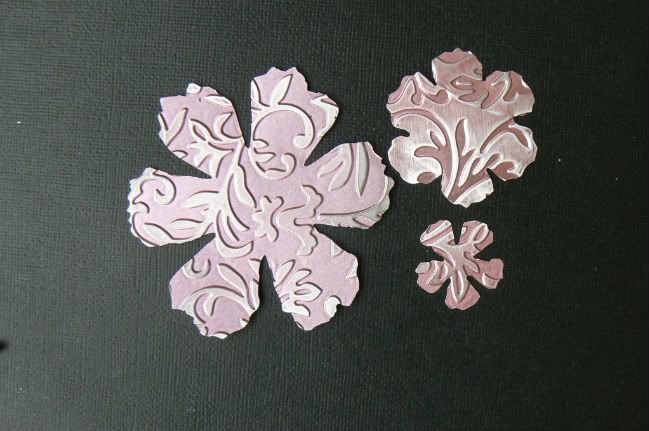
Step Two: Emboss your florals using any embossing folder of your choice. Using a sanding block, sand down the raised embossed images on your metal.

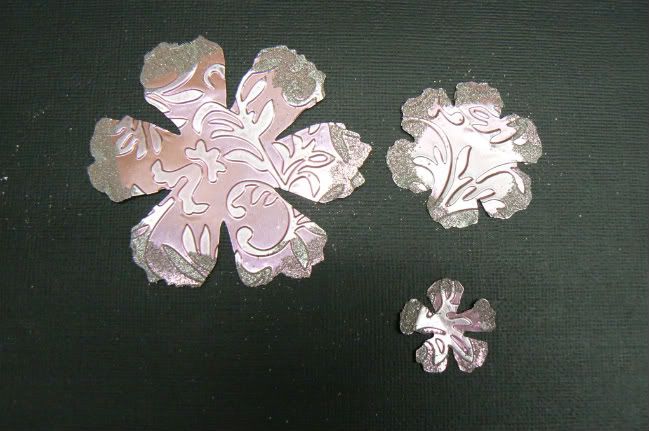
Step Three: Add some embossing ink to the tips of each petal and then pour some UTEE powder over. Tap off any excess powder onto a spare piece of paper which you can then use to funnel the powder back into its container.

Step Four: Using your heating tool, heat the UTEE until it begins to melt. I recommend only doing one layer as you want the grainy uneven finish for these.

Step Five: Bend each petal upwards and also pinch the top of each petal inwards creating a "v" shape as shown above. Stack the flowers starting with the largest at the bottom gluing each layer to the next as you go. Add a flower center (I used a pearl) and you're done.

These will make a lovely addition to any scrapbook layout, card or tag. Experiment with various petal shapes using your metal sheets to create different styles of flowers.
oh my gosh......that flower is beautiful. It would look so pretty adorning some photo frames I own. Thanks for the idea.
ReplyDeleteGorgeous!!!! This is just beautiful Wendy. Great tutorial.
ReplyDeletewonderful tutorial Wendy! Now I NEED Tim Holtz dies! :)
ReplyDelete